
Digital calligraphy is an exciting and accessible way to blend traditional artistry with modern technology. Whether you want to create stunning invitations or unique art pieces or learn a new skill, digital calligraphy offers a versatile and rewarding experience. In this beginner’s guide, we’ll cover the essentials to get you started on your digital calligraphy journey.
Why Digital Calligraphy?
Digital calligraphy combines the beauty of traditional calligraphy with the flexibility and convenience of digital tools. Here are some reasons to dive into digital calligraphy:
- Accessibility: No need for expensive supplies. All you need is a tablet and a stylus.
- Versatility: Easily edit, resize, and customize your work.
- Convenience: Practice anytime, anywhere, without the mess of ink and paper.
Essential Tools and Software
To get started with digital calligraphy, you’ll need a few basic tools:
Hardware
- Tablet: A good-quality tablet, such as an iPad with Apple Pencil or a Wacom tablet, is essential. Their pressure sensitivity mimics the feel of traditional calligraphy.
- Stylus: A stylus with pressure sensitivity is crucial for achieving varied stroke widths. Apple Pencil or Wacom stylus are popular choices.
Software
Procreate: A powerful app for iPad that offers a wide range of brushes and customization options.Adobe Fresco: Known for its realistic brush strokes and vector capabilities.Affinity Designer: Great for vector-based calligraphy, allowing for scalable designs.
Basic Techniques
Understanding Pressure Sensitivity
One of the fundamental aspects of calligraphy is varying the width of your strokes. In digital calligraphy, this is achieved through pressure sensitivity. Pressing harder will create thicker lines, while lighter pressure results in thinner lines. Practice applying different pressures to get a feel for this technique.
Brush Settings
Digital calligraphy software offers customizable brushes. Start with a basic calligraphy brush and experiment with settings such as:
- Size: Adjust the brush size to suit your project.
- Opacity: Vary the opacity for a more natural look.
- Streamline: Increase streamlining for smoother strokes.
Basic Strokes
Mastering basic strokes is crucial for beautiful calligraphy. Practice the following:
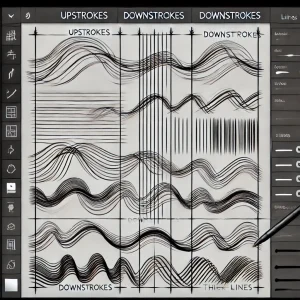
- Upstrokes: Light pressure to create thin lines.
- Downstrokes: Heavy pressure for thick lines.
- Overturns and Underturns: Smooth transitions between up and downstrokes.
Here’s a step-by-step guide to digital calligraphy techniques with sample descriptions for each step.
Step 1: Gather Your Tools
Set up your digital workspace with your tablet and stylus. Ensure your software (Procreate, Adobe Fresco, etc.) is installed and ready to use.

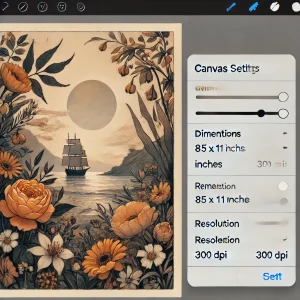
Step 2: Set Up Your Canvas
Open your digital calligraphy app and set up your canvas. Choose an appropriate size, such as 8.5 x 11 inches, and a resolution of 300 DPI for high-quality work.
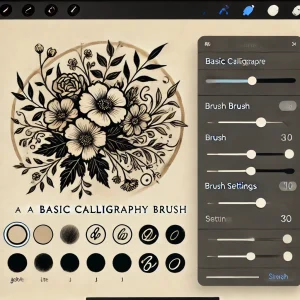
Step 3: Select a Brush
Choose a basic calligraphy brush from the brush library. Adjust the brush size and settings to your preference.
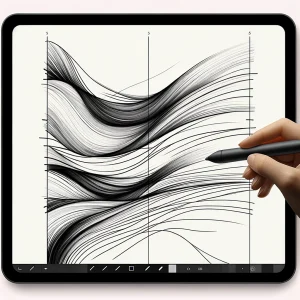
Step 4: Understand Pressure Sensitivity
Practice applying different pressures to the stylus. Notice how the stroke width changes with pressure.
Step 5: Practice Basic Strokes
Start with basic upstrokes and downstrokes. Keep your upstrokes light and your downstrokes heavy.
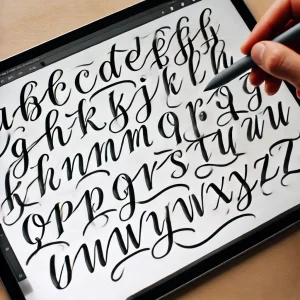
Step 6: Master Basic Letters
Practice individual letters, focusing on maintaining consistent stroke widths and spacing.
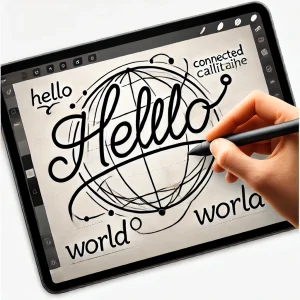
Step 7: Join Letters
Practice connecting letters to form words. Focus on smooth transitions and consistent spacing.
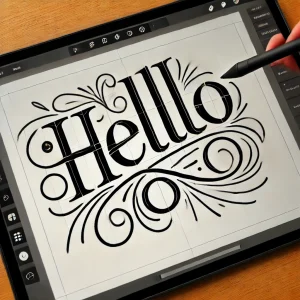
Step 8: Add Flourishes
Experiment with adding flourishes to your letters. Start with simple loops and swirls and gradually add complexity.
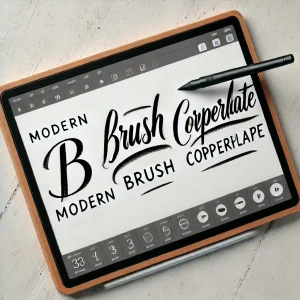
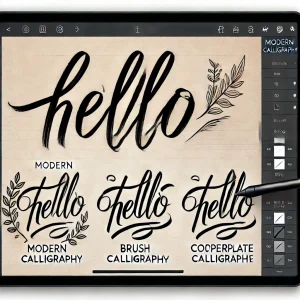
Step 9: Explore Different Styles
Try different calligraphy styles, like modern, brush, and copperplate.
Step 10: Save and Export Your Work
Description: Once satisfied with your practice, save your work. Export it in high resolution for printing or sharing online.
Adding Flourishes and Styles
Flourishes
Flourishes add a decorative touch to your calligraphy. These can include loops, swirls, and other embellishments. Start simple and gradually add complexity as you gain confidence.
Styles
Experiment with different calligraphy styles, such as:
- Modern Calligraphy: A relaxed and whimsical style with varied letter heights.
- Brush Calligraphy: Mimics the look of brush strokes, great for a more dynamic appearance.
- Copperplate Calligraphy: A traditional style with precise, elegant strokes.
Tips for Improving
- Consistent Practice: Dedicate time each day to practice. Consistency is key to improvement.
- Use References: Look at examples of digital calligraphy for inspiration and guidance.
- Experiment: Don’t be afraid to try new tools, brushes, and styles. Experimentation leads to growth.
Conclusion
Digital calligraphy is a fulfilling and creative pursuit that combines the timeless art of calligraphy with modern technology. With the right tools, techniques, and practice, anyone can master digital calligraphy. Start your journey today and unlock a world of artistic possibilities.
By following this guide, you’ll be well on your way to creating beautiful digital calligraphy. Happy lettering! 🙂